Make your own 3D Snow Globe (FME Workspace Download)


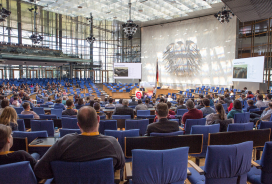
Are you wondering how to make a perfect FME gift for Christmas? Look no further! What can be better than a 3D snow globe with something beautiful inside? And you are the one who decides what is beautiful enough to go inside your snow globe.
To me, it was hard to fight my vanity, so the first object I placed inside the globe was my own figure.
Yes, yes, I know, this is not the most beautiful object in the world, but I wanted to make sure it is Safe to be inside the snow globe.
How is this all done? The whole workspace is not particularly small, but it is not very big or difficult either.
Download the FME Workspace here.
Visualizing in a Browser with ThreeJS
I included a new experimental feature in this workspace: writing to ThreeJS, a JavaScript library for 3D visualization directly in a browser. The geometries of the model are turned into a JSON attribute, the data format for ThreeJS. The model is saved to an Amazon S3 storage (you will need your Amazon Access Key ID and Secret Access Key) along with the textures and an html file containing references to the ThreeJS library (you will have to host it as well) and is able to show the model. The output is a small htm file, which streams the ThreeJS model directly into your browser.
Here is a live demo of the ThreeJS service.
(Depending on your machine, you may need to give it a moment to load.)
To see your own snow globe directly in a browser, upload an OBJ model zipped with “materials.mtl” and the folder “materials_textures” with images (the easiest way to make such a model is to use “Zip output” mode on the writer within FME).
Building a 3D Snow Globe: FME Workspace Overview
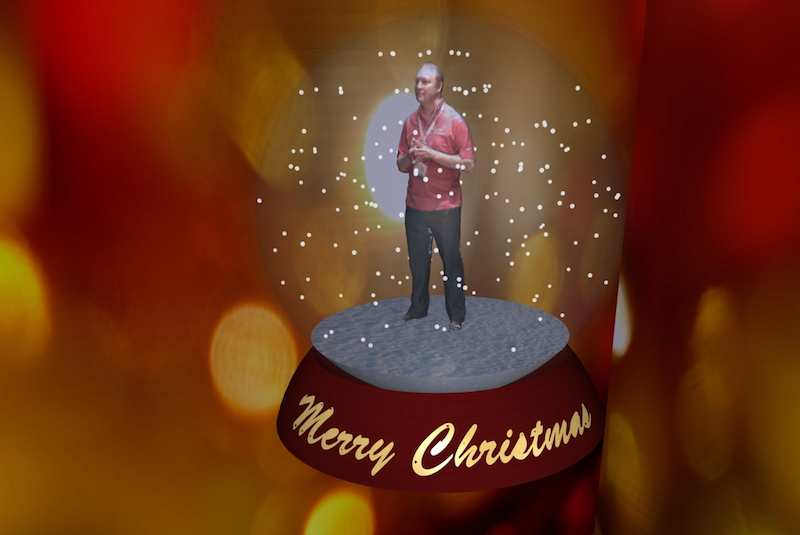
Glass Globe
The first thing we need is a sphere. I could easily find a sphere in Trimble 3D warehouse or ask our geometry team to give me an OBJ file, but instead, I used a nice trick, which works well in this scenario.
We begin with the creation of a rectangle representing the world coverage in Lat/Long (-180,-90,180,90). Then we tile it. The smaller the tile size is, the smoother the output sphere is, but it takes longer to make the whole snow globe because of quite a few clipping operations.
5 degrees is a nice size for making a visually smooth sphere. Now the magic trick: CSMapReprojector turns the tiles into a sphere if we change projection to geocentric. After that, we can scale the sphere from 12K+ meters in diameter to something more convenient, for example, to 12 units, which we can assume are centimeters and now it’s easy to imagine the size of model and work with its other parts.
We can give the sphere walls some thickness and make it empty inside. For that, we scale its copy to 98% of the original size and use the copy as a clipper for the sphere. After that, we only have to set the glass material (AppearanceSetter or SharedItemAdder with SharedItemIDSetter) and voila, we have a perfect glass globe:
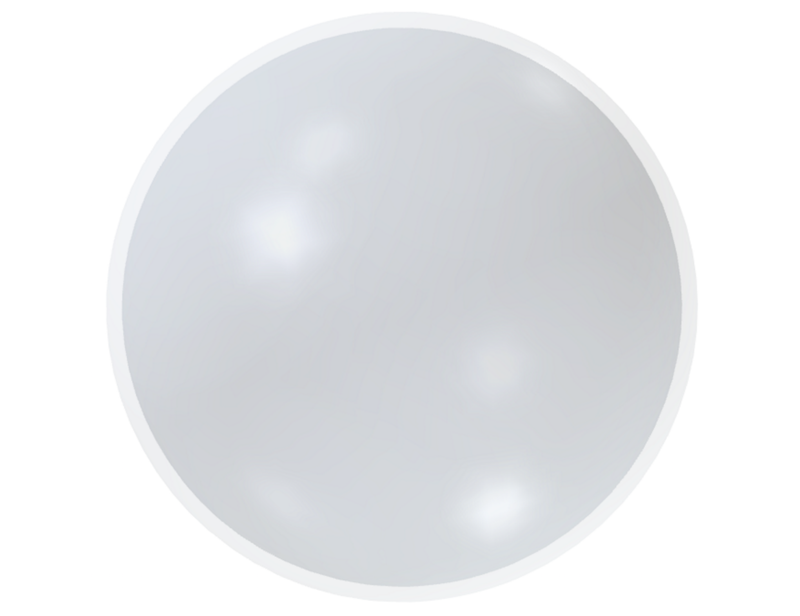
Wooden Stand
Now we need a stand for our snow globe. A simple stand can be made from the same sphere. We will move a copy down by 80% of the radius, then clip it twice. The first time, we clip with the sphere itself to make a nice deepening, and then we clip the bottom with a 3D bounding box. Finally, we add a wooden texture, and get a nice stand:
Gold Text and Logo
Some text or a logo on the stand can help personalize the globe. In my example, we see the Safe logo on one side of the stand and “Merry Christmas” on the other. These are placed while the data is in latitude/longitude. Both the text and logo come from DWG files, but we also can create a text feature with FME and use TextStroker to turn it into polygons. With Scalers and Offsetters we move them to two locations on the opposite sides of the Earth just above the equator. Then, we reproject them to the geocentric projection (CSMapReprojector) and pass through PlanarityFilter, which calculates surface normals for us. Normals are used as the extrusion vector parameters in Extruder, which gives the text and the logo some real thickness. Scaler then allows to deepen them slightly into the body of the stand. After that we should make sure that these features get the same offset as the stand (FeatureMerger to pass offset parameter and Offsetter). Setting geometry colors allows making a pretty realistic gold material:
![]()
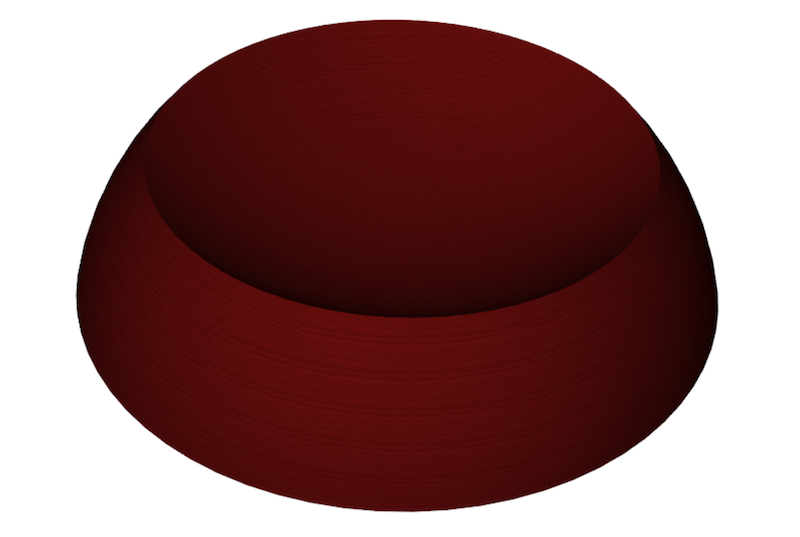
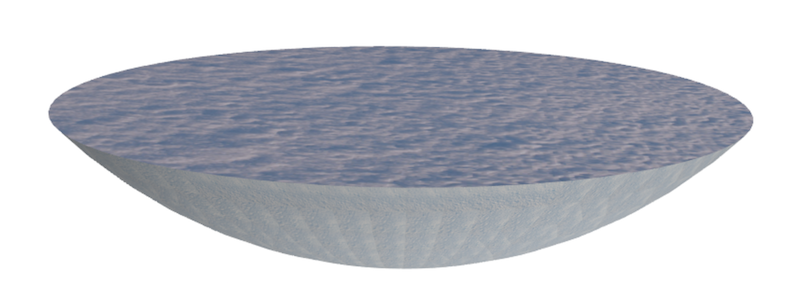
Snow Base
Using the inside part of the glass (the one we scaled to 98% of our original sphere) and another 3D bounding box, we create a lens-shaped feature for the snow (one more Clipper). For this, we use a snow texture:
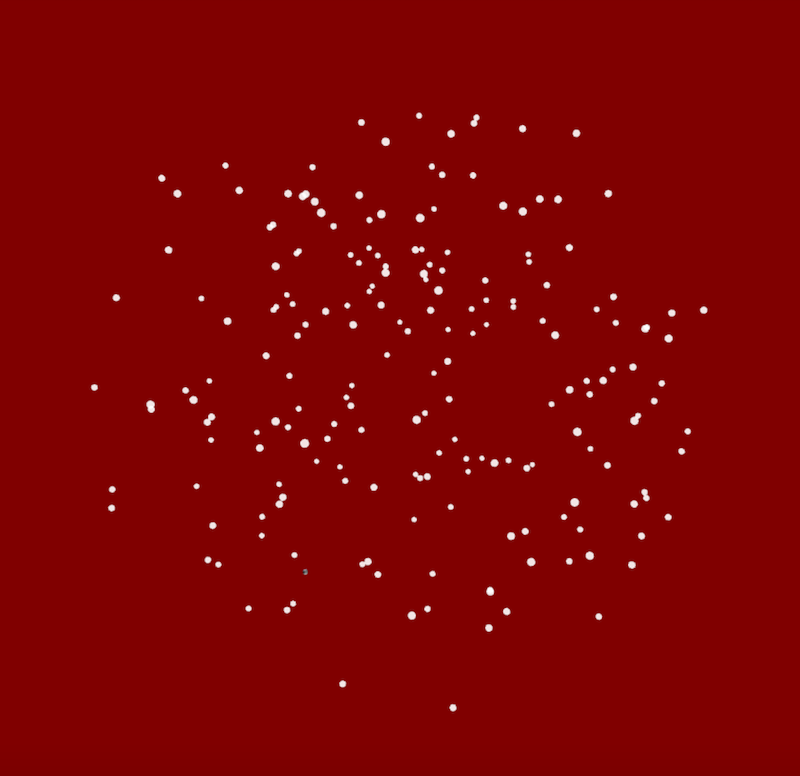
Snowflakes
I tried making snowflakes as simple points from a randomly thinned point cloud, and as little spheres (or other shapes). Depending on destination format, the latter approach can make heavier files, but may look better.
Out of the bounding box of the inner part of the glass sphere we make a point cloud (PointCloudCombiner) and make multiple copies of the point cloud from minimal to maximal z of the inner sphere, which then serves as a clipper for the combined point cloud of all the offset point cloud copies. Randomness in snowflake distribution is achieved by generating a random number from 0 to 49 and keeping only those points where the random number is equal only one numbers – in my case, 2. In other words, we leave approximately one point out of every 50. Then we coerce the point cloud to points, and either use the points as final snowflakes or replace them with instances of what is supposed to be a snowflake – that can be a shape made the same way as the sphere, but with a bigger tile size – 60, for example.
Box Around the Snow Globe
The Christmassy-looking box in which I placed the model is a simple 3D bounding box with a texture around the snow globe made 10 times bigger.
Customizing your Snow Globe
What goes inside the snow globe is entirely up to you. It can be a SketchUp model of your local landmark, an OBJ file of your favourite cartoon character, a KML file of your dream destination, a portion of your everyday work.
Two things to keep in mind: first, the model must be scaled to fit inside the globe. It should be about 7 units along the largest extent. With BoundsExtractor and Tester we find which axis the model has the biggest difference between maximal and minimal coordinates, and scale the model accordingly. The second step is to offset the model so it touches the snow.
Don’t limit yourself in any way! Try changing textures, materials, text and logo, the shape of the base – customize everything. Replace the box with something else – place the snow globe on a table or under the Christmas tree. Make a complete Christmas scene.
In my examples, I saved the results to Adobe PDF 3D, but you can change the workspace to save the snow globe in a different format – OBJ, Geodatabase, SketchUp… FME has a few options here.
If you make something cool, share it with us. We would love to see your snow globe!
A Few Examples
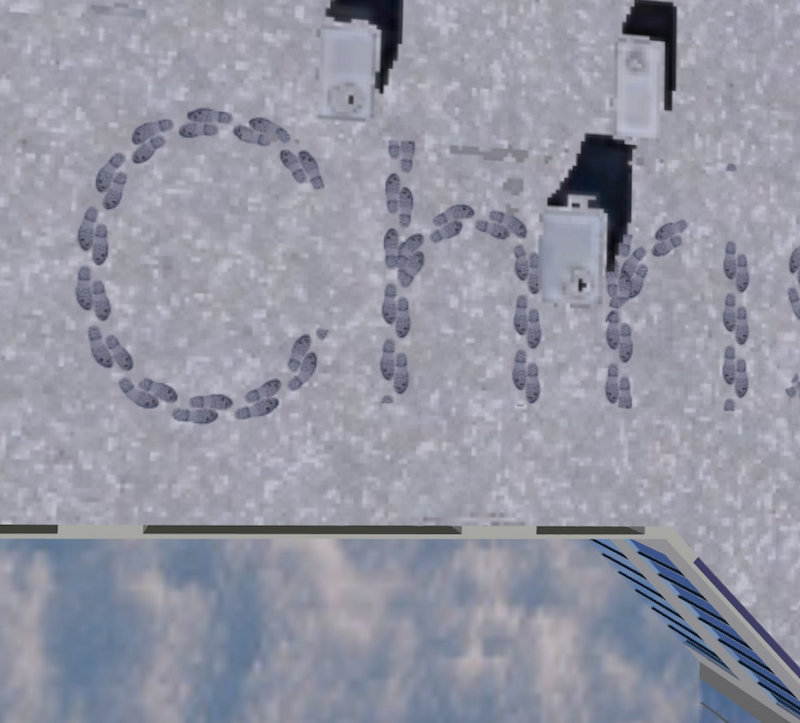
Safe Software Office
Here I used a SketchUp model of the Safe Software office building and some raster magic to place some footprints on the roof.

Olaf
The model is taken from Trimble 3D Warehouse.

Sometimes, a scaling mistake leads to unexpected, but nice results:

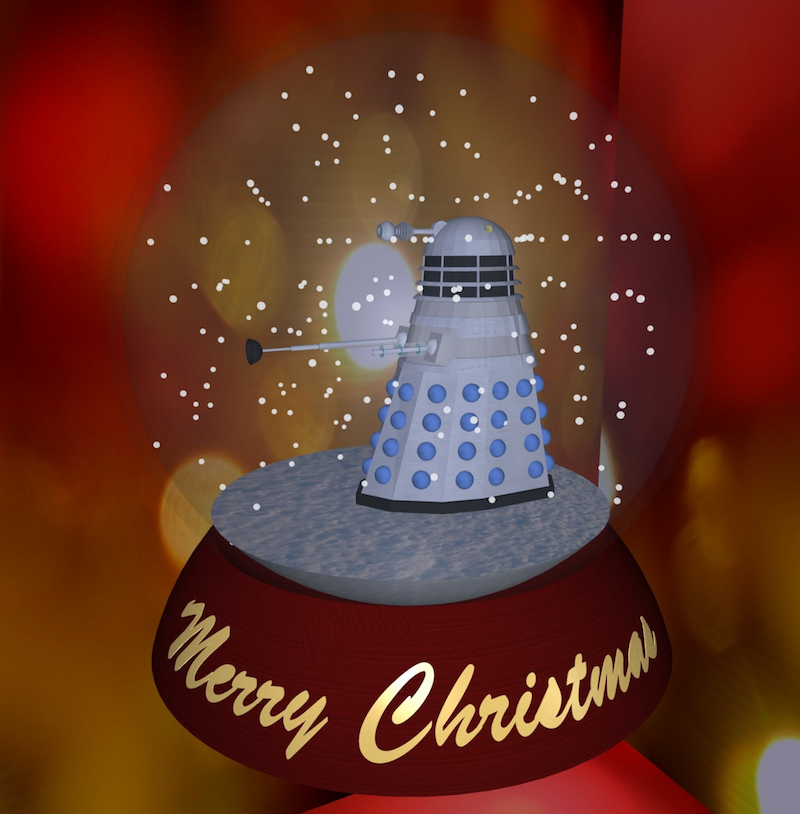
For Dr. Who Fans
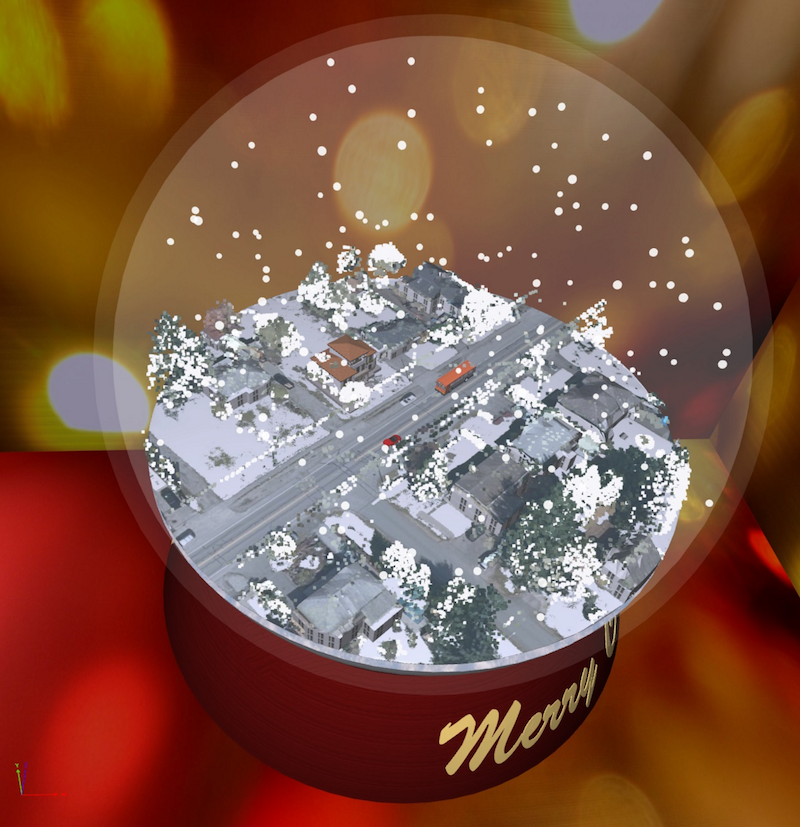
A Street Scene in Surrey, BC
I used a few data sources here: an ortho image, the point clouds for roofs and vegetation, building footprints for walls, SketchUp models of a building with brown roof, a car and a bus. With two simple expressions in RasterExpressionEvaluator and PointCloudExpressionEvaluator I made the ortho and the vegetation points look more wintery.
Explore more blog content headline
Data-Driven Marine Operations: 5 Ways to Generate Actionable Insights from Ship to Shore
Introducing FME Form 24.0: Redesigned User Experience for Focus and Consistency


[New!] AI Assist in FME: How to Build Better Data Integration Workflows with the Help of AI